

Many homeowners start painting the interior walls of their homes with the expectation of making a quick improvement in their home’s appearance. However, issues tend to arise after the paint dries.
For example, the walls can have streaks or bubbles or just uneven patches, and sometimes the paint starts to peel off within months. As a result, resolving these problems involves sanding, patching, and repainting, which is both time-consuming and expensive.
In most cases, these problems are not caused by the paint itself, but rather by mistakes in preparation or application. When walls are cleaned correctly, the right paint is used, and coats are applied correctly, the finish remains smooth and durable for years.
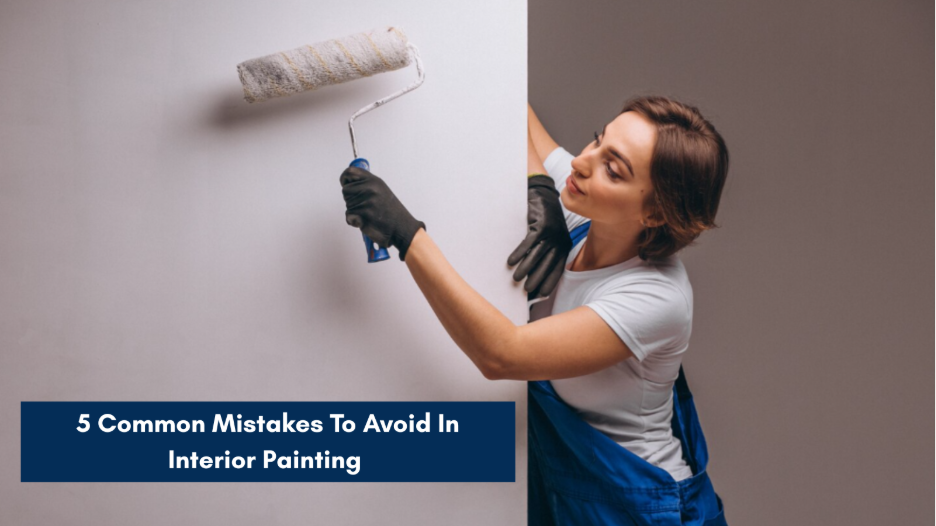
Therefore, small steps taken before and during painting can make a huge difference to the final result. This article discusses five common mistakes to avoid in interior painting and practical steps for a lasting finish.
1. Inadequate Surface Prep
A successful interior painting project relies on the proper preparation of the walls. Paint adheres well only when the surface is clean, smooth, and stable. However, when the preparation is skipped, the paint is unable to properly bond.
As a result, issues such as peeling, cracking, or uneven patches may occur after the paint dries. Furthermore, walls tend to collect dust, grease, and stains that weaken the adhesion of the paint. In addition, dents or nail holes are more visible after fresh paint has been applied.
Moreover, preparation should start by cleaning the wall in order to get rid of dirt and grease. Next, examine the surface and fill in cracks or holes with filler. After that, lightly sand the wall to smooth repairs and create texture to help paint stick better.
If necessary, apply primer to patched or uneven areas. Overall, proper preparation creates an even base that helps paint spread evenly and last longer.
2. Moisture and Residue on Walls
Painting over damp or contaminated walls frequently causes paint failure. Even if the surface is visually dry, hidden moisture may be present within the wall. When this happens, the moisture permeates the paint layer and leads to bubbling, blistering, or peeling.
Moreover, moisture issues are likely to occur in humid rooms or areas near plumbing. For example, leaks or condensation can cause the wall to absorb moisture, weakening the paint film.
Similarly, residue left on the wall can cause problems. Dust, soap residue, or grease hinders the adhesion of the paint and stops the coating from forming a consistent layer.
Therefore, walls should be thoroughly clean and dry before painting. If the surface has been washed, allow it to dry well and check the area for leaks or condensation. As a result, the paint binds evenly and lasts longer.
3. Incorrect Paint Product Selection
Using the wrong type of paint is a common mistake that occurs when painting interiors. Paint products are formulated for particular surfaces and room conditions. Therefore, when the product does not match the environment, the coating might not perform very well.
For example, kitchens and bathrooms commonly have higher humidity levels. As a result, these areas need paints that are resistant to moisture and are durable. Standard interior paints can break down more quickly in these conditions.
In addition, the quality of paint has an impact on the final result. Lower-quality paints can be made with fewer pigments and weaker binders, which can result in uneven coverage or fading.
Therefore, refer to the product label and select the paint that is appropriate for the room and the wall surface. The right product produces better adhesion and more consistent coverage.
4. Insufficient Dry Time Between Coats
Applying multiple coats improves paint coverage. However, problems arise when coats are applied too quickly. If the previous coat has not dried fully, the next layer traps moisture or solvents beneath the surface.
Further, as the paint dries, this trapped material expands and weakens the paint film. Consequently, the wall may develop wrinkles, cracks, or uneven texture. Therefore, allow sufficient drying time between coats. Each layer must stabilize before another coat is applied so the paint forms a uniform finish.
Moreover, manufacturers usually provide drying times on the paint container, and these guidelines should be followed. In addition, humidity and temperature can slow the drying process. Overall, proper drying improves both durability and appearance.
5. Poor Color Testing in Room Lighting
Paint colors rarely appear the same in every lighting condition. For example, a color chosen in a store may look different once applied to a wall at home.
Furthermore, natural light, ceiling lights, and lamps all influence how a color appears. During the day, a shade may look balanced, but in the evening it may appear darker. Additionally, warm lighting can alter certain color tones.
Therefore, skipping color testing often leads to dissatisfaction. Once the entire room is painted, correcting the color usually requires repainting.
To prevent this, test paint samples directly on the wall. Apply small patches in different areas and observe them throughout the day. This approach helps you choose a color that fits the room’s lighting.
Bottomline
Interior painting produces the best results when preparation, materials, and application are handled carefully. However, common mistakes such as poor surface prep, moisture on walls, unsuitable paint, or rushed coats often cause defects like peeling, bubbling, or uneven coverage.
Therefore, follow a clear process. First, clean and repair the walls. Next, ensure the surface is dry and choose paint suited to the room’s conditions. Finally, allow proper drying time between coats and test colors under real lighting to achieve a durable and consistent finish.