






Key Takeaways
- Verify the actual cause of failure before committing to an engine replacement.
- Compare component repair, rebuild, and replacement options based on total cost and downtime.
- Match the replacement engine to the application, drivetrain, electronics, cooling system, and emissions configuration.
- Inspect supporting systems before installation to prevent contamination or failed accessories from damaging the replacement.
- Document the project, plan safe installation steps, and closely monitor the first start.
Replacing a heavy-duty diesel engine is a significant investment that requires careful planning before installation begins. A thorough pre-install checklist helps reduce the risk of compatibility issues, unexpected downtime, and premature engine failure. Before installing a replacement, owners and technicians should verify engine specifications, inspect supporting systems, address the cause of the original failure, and confirm that all required components are ready. Taking these steps helps ensure the new engine performs reliably from the start.
Whether replacing a Cummins N14 engine or another heavy-duty diesel platform, preparation is just as important as the installation itself. Reviewing the cooling, fuel, electrical, and emissions systems and following the manufacturer’s installation and break-in procedures can improve long-term reliability. A systematic approach helps protect the investment while supporting dependable performance and a longer service life.
Confirm That Replacement Is Necessary
Don’t assume low power, smoke, overheating, oil consumption, or warning lights mean the engine has failed. Low oil pressure may be caused by a worn pump, damaged bearings, a blocked pickup tube, or incorrect oil. Coolant loss can stem from issues with the EGR cooler, hoses, radiator, water pump, head gasket, or cylinder head. Symptoms such as turbocharger, injector, charge-air cooler, or fuel system problems can be misleading.
Start with fault-code scans, analyze oil and coolant, perform compression or leak-down tests, use a borescope, and conduct visual checks. Metal in oil, a cracked block, severe cylinder damage, a failed crankshaft, or persistent internal issues indicate the need for replacement. Accurate diagnosis saves money and prevents the installation of an engine with unresolved problems.
Compare Repair, Rebuild, And Replacement Options
- Component repair:Best for isolated failures, such as a turbocharger, injector, oil cooler, or head gasket. It usually has the lowest immediate cost, but does not correct unrelated internal wear.
- In-frame rebuild:A practical option when cylinders, pistons, liners, and related internal parts are worn but the block and crankcase remain serviceable. It can extend engine life without removing the entire assembly.
- Out-of-frame rebuild:Best when substantial internal damage requires full disassembly and measurement. It allows a more complete inspection, but labor and downtime are greater.
- Replacement engine:Often makes sense for major block damage, unavailable parts, urgent uptime needs, or an engine whose rebuild cost exceeds its remaining value.
Compare each option using the full project cost, not the purchase price alone. Include expected service life, warranty coverage, parts availability, shop capacity, and lost revenue while the unit is down.
Build A Complete Compatibility Checklist
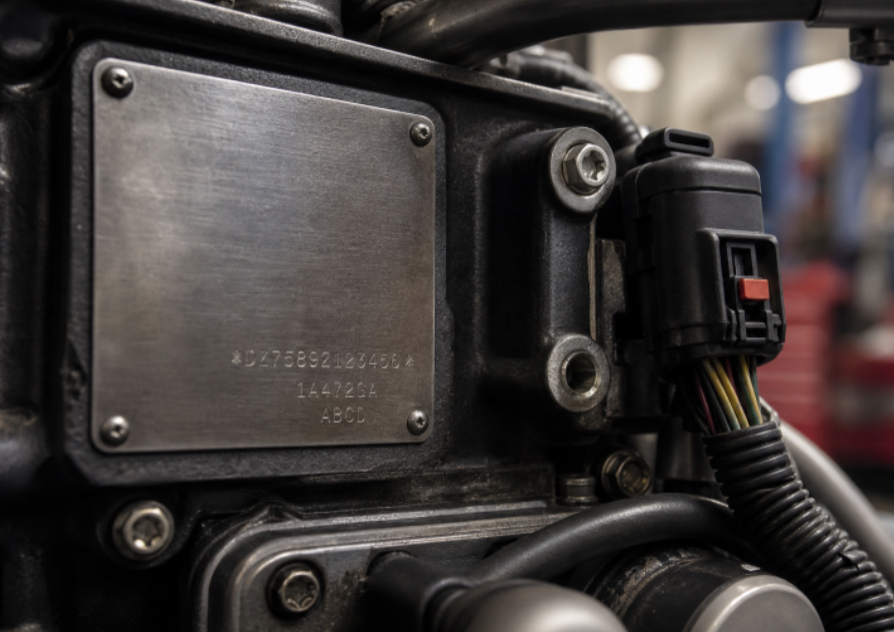
Before ordering, record the engine model, serial number, rating, build date, and original application. Then compare the proposed replacement against the existing unit. Verify the flywheel housing and transmission pattern, starter location, engine mounts, oil-pan shape, front gear housing, accessory drive, exhaust routing, and cooling connections. Electronic compatibility is equally important. Check the engine control module, wiring harness, sensors, injectors, engine brake components, fuel-system design, and diagnostic requirements. An engine that physically fits may still be wrong if its controls cannot communicate with the truck or equipment. Also, confirm the intended duty cycle. An on-highway tractor, a construction machine, a marine application, and a stationary generator can require different hardware and calibrations.
Review Emissions And Regulatory Requirements
For on-road equipment, avoid treating emissions hardware as an optional add-on. The replacement must preserve the appropriate certified configuration, including aftertreatment components, sensors, exhaust routing, and control programming.
Do not remove, bypass, or disable emissions equipment to simplify an installation. Beyond legal concerns, mismatched hardware can trigger fault codes, derates, poor regeneration performance, and expensive troubleshooting after the engine is back in service.
Calculate The Full Project Cost
Prepare a detailed written estimate that includes the engine or long block cost, freight, lifting, removal, installation labor, fluids, filters, gaskets, seals, hoses, belts, clamps, hardware, programming, and diagnostics. Include costs for cooling-system flushing, radiator servicing, fuel-system cleaning, and testing of components like the turbocharger, injectors, fuel pump, oil cooler, and electrical parts. Also, account for downtime. Keep in mind that a cheaper used engine might end up costing more if it’s poorly documented, requires extra parts, or leads to additional dismantling. Conversely, a higher-priced remanufactured engine with a clear warranty may reduce operational risks.
Inspect Supporting Systems Before Installation
A replacement engine is vulnerable to the same conditions that damaged the original. Flush the cooling system and inspect the radiator, thermostat, fan drive, hoses, and coolant quality. Check the fuel tank for water, sediment, or microbial contamination. Inspect fuel lines, filters, lift pumps, high-pressure components, intake plumbing, charge-air cooler, and air cleaner.
Examine engine mounts, the transmission or clutch, driveline, batteries, grounds, starter, alternator, and harness connectors. A damaged oil cooler or contaminated turbocharger can quickly send debris into a replacement engine.
Decide Which Parts To Reuse
Reuse only components with known conditions and confirmed compatibility. Parts that deserve careful testing include the turbocharger, injectors, fuel pump, oil cooler, water pump, starter, alternator, engine wiring harness, and control module. If a part is difficult to access after installation or has a questionable history, replacing it during the engine job is often less expensive than repeating the labor later.
Ask For Clear Documentation
Request identification and configuration details for the engine, along with documentation stating whether it is new, used, rebuilt, or remanufactured. Confirm exactly what is included, what must be transferred, and whether core charges apply. Review warranty length, labor coverage, exclusions, return procedures, and required installation steps. Keep diagnostic results, invoices, serial numbers, start-up readings, and maintenance records in one file.
Plan Safe Removal And Installation
- Disconnect batteries, secure the vehicle, and drain fluids into approved containers.
- Label hoses, wiring, brackets, and hardware before disassembly.
- Use lifting equipment rated for the complete engine assembly.
- Inspect mating surfaces, mounts, flywheel components, and fasteners before installation.
- Install new seals, filters, fluids, and required hardware.
- Prime lubrication and fuel systems according to the correct service procedure.
Complete First-Start And Break-In Checks
On first start, verify oil pressure immediately and monitor coolant temperature, charging voltage, fuel pressure, and engine speed. Inspect for oil, fuel, air, and coolant leaks. Listen for knocking, rattling, hissing, or unusual valvetrain noise. Scan for active and inactive codes, perform a controlled load test, then recheck fluids and accessible fasteners after the first operating period.
Account For Current Diesel Technology
Modern heavy-duty diesels increasingly depend on integrated electronics, thermal management, fuel control, and aftertreatment systems. That means replacement planning should include software compatibility, sensor condition, diagnostic tooling, and technician capability, not just mechanical fit. The closer the replacement matches the original engine family and application, the fewer changes are typically required.
Conclusion
A successful heavy-duty diesel engine replacement begins well before installation day. Confirm the failure, select the right repair path, verify compatibility, inspect every supporting system, and document the work. Careful preparation helps the replacement engine return to reliable service with fewer surprises and a better chance of delivering long-term value.